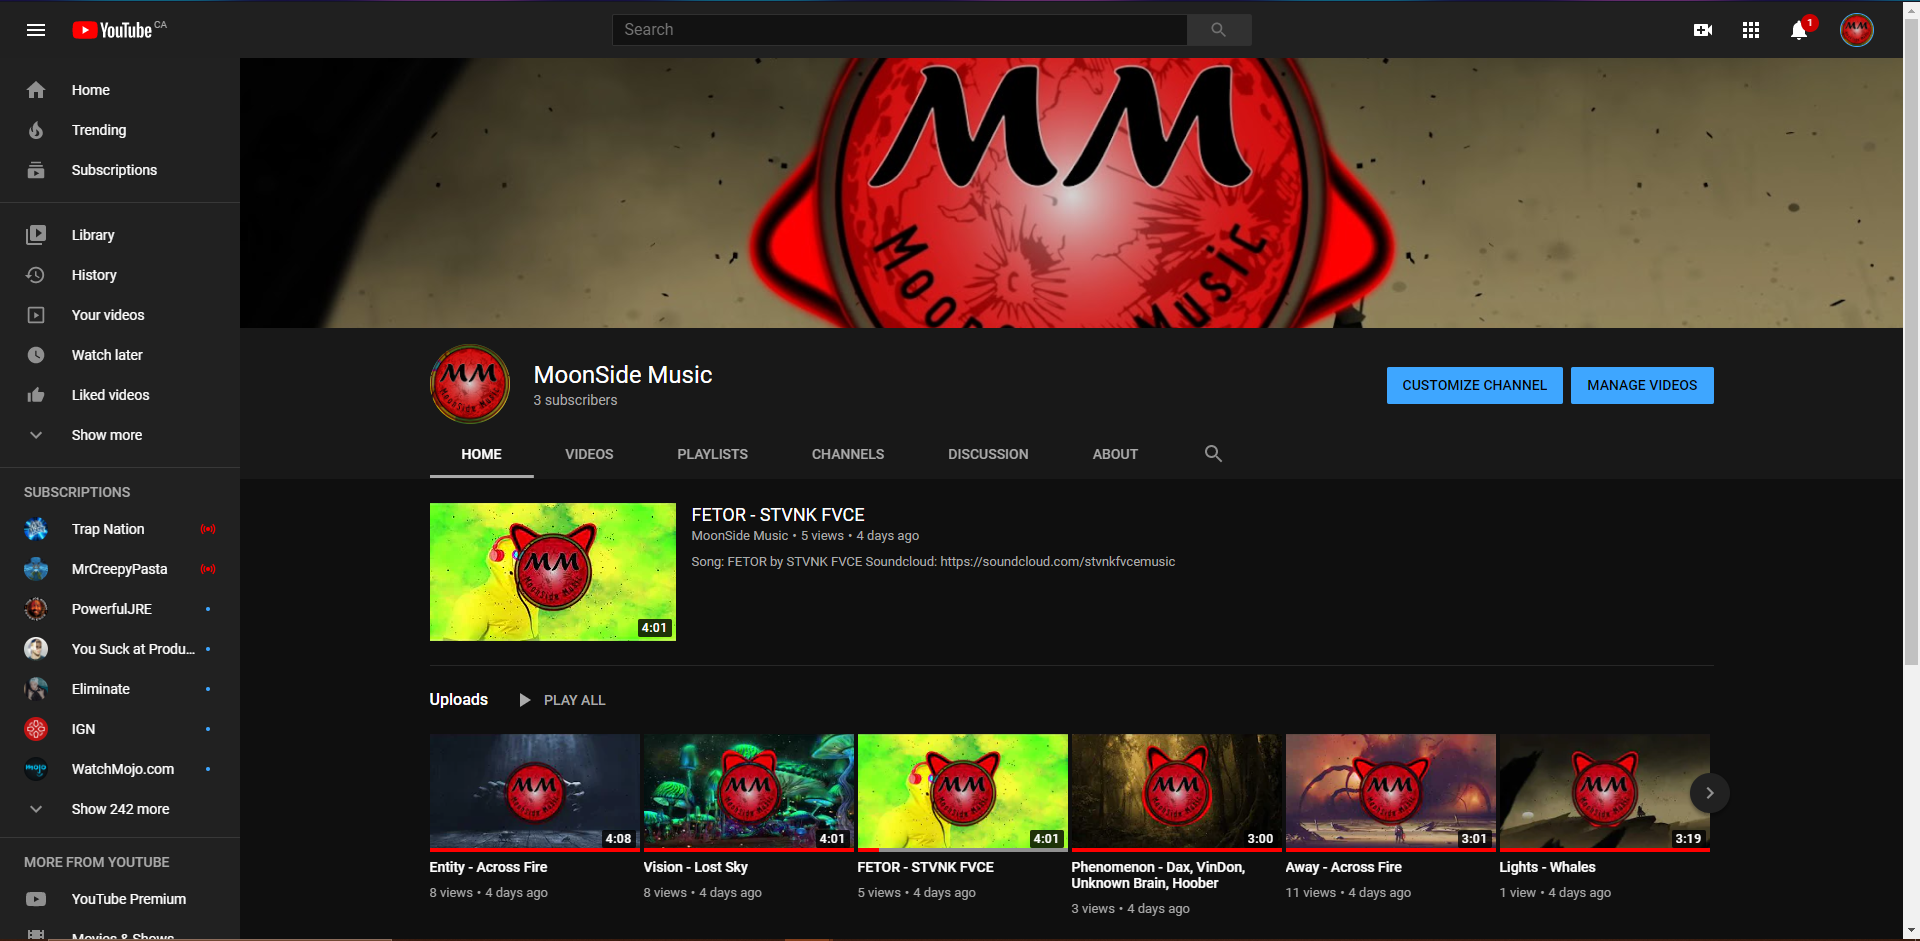
This channel was created as coursework for a University of Regina course, CTCH 499 - Capstone Project. For my capstone project, I have created a YouTube - based brand by the name of MoonSide Music. This brand will serve as a form of modern radio for people who enjoy electronic genres of music from underground or new artists. Being an aspiring music producer myself, I wanted to create a platform that offered other up and coming artists of similar genres a polished and professional looking way to share their music with an interested audience. The channel will also feature music released by the label NCS (No Copyright Sounds) as a form of filler to grow the channels initial library as well as it's audience. The video example above is the format of all videos featured on the channel (audio and background images specific to each video) and includes the audio from one of my recent tracks, Away.
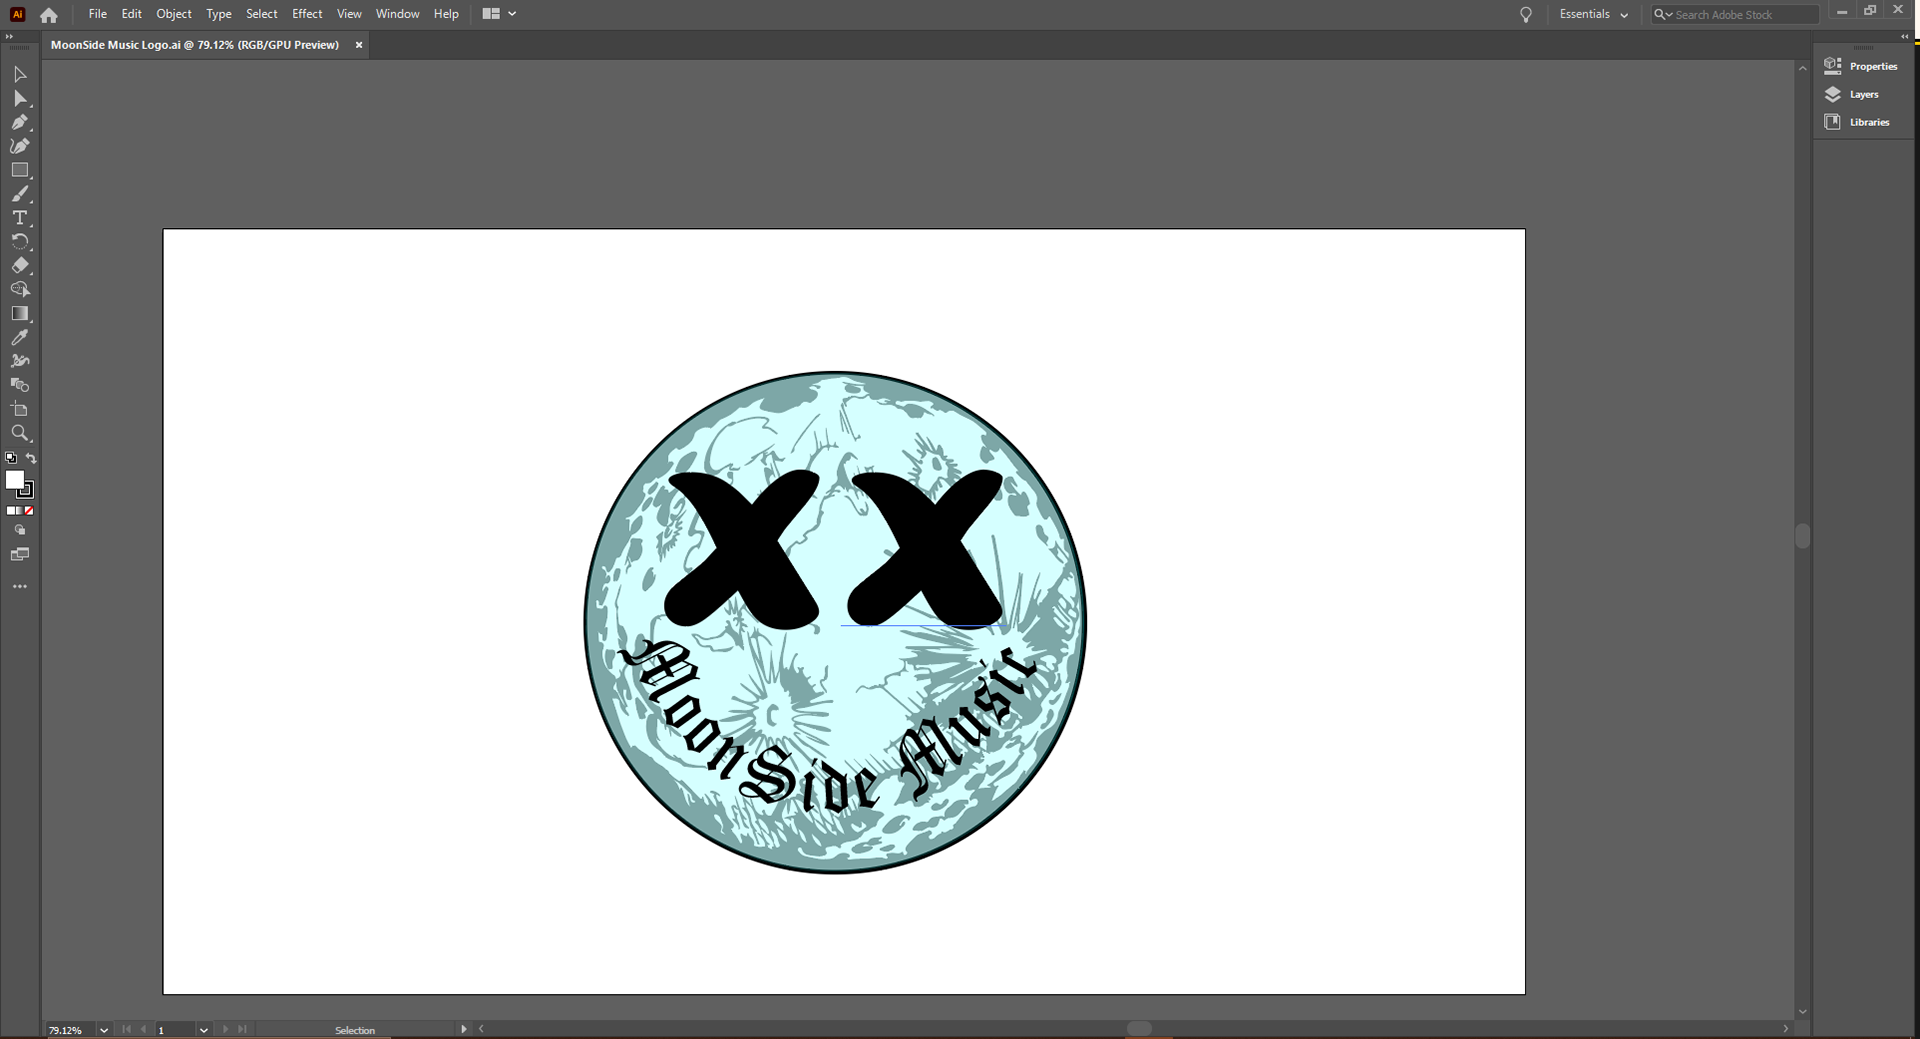
To begin, I started with creating some drafts of the logo to use in the creation of my first visualizer prototype. This was so that I could see how the logo design would integrate into the visualizer before finalizing the design of both.
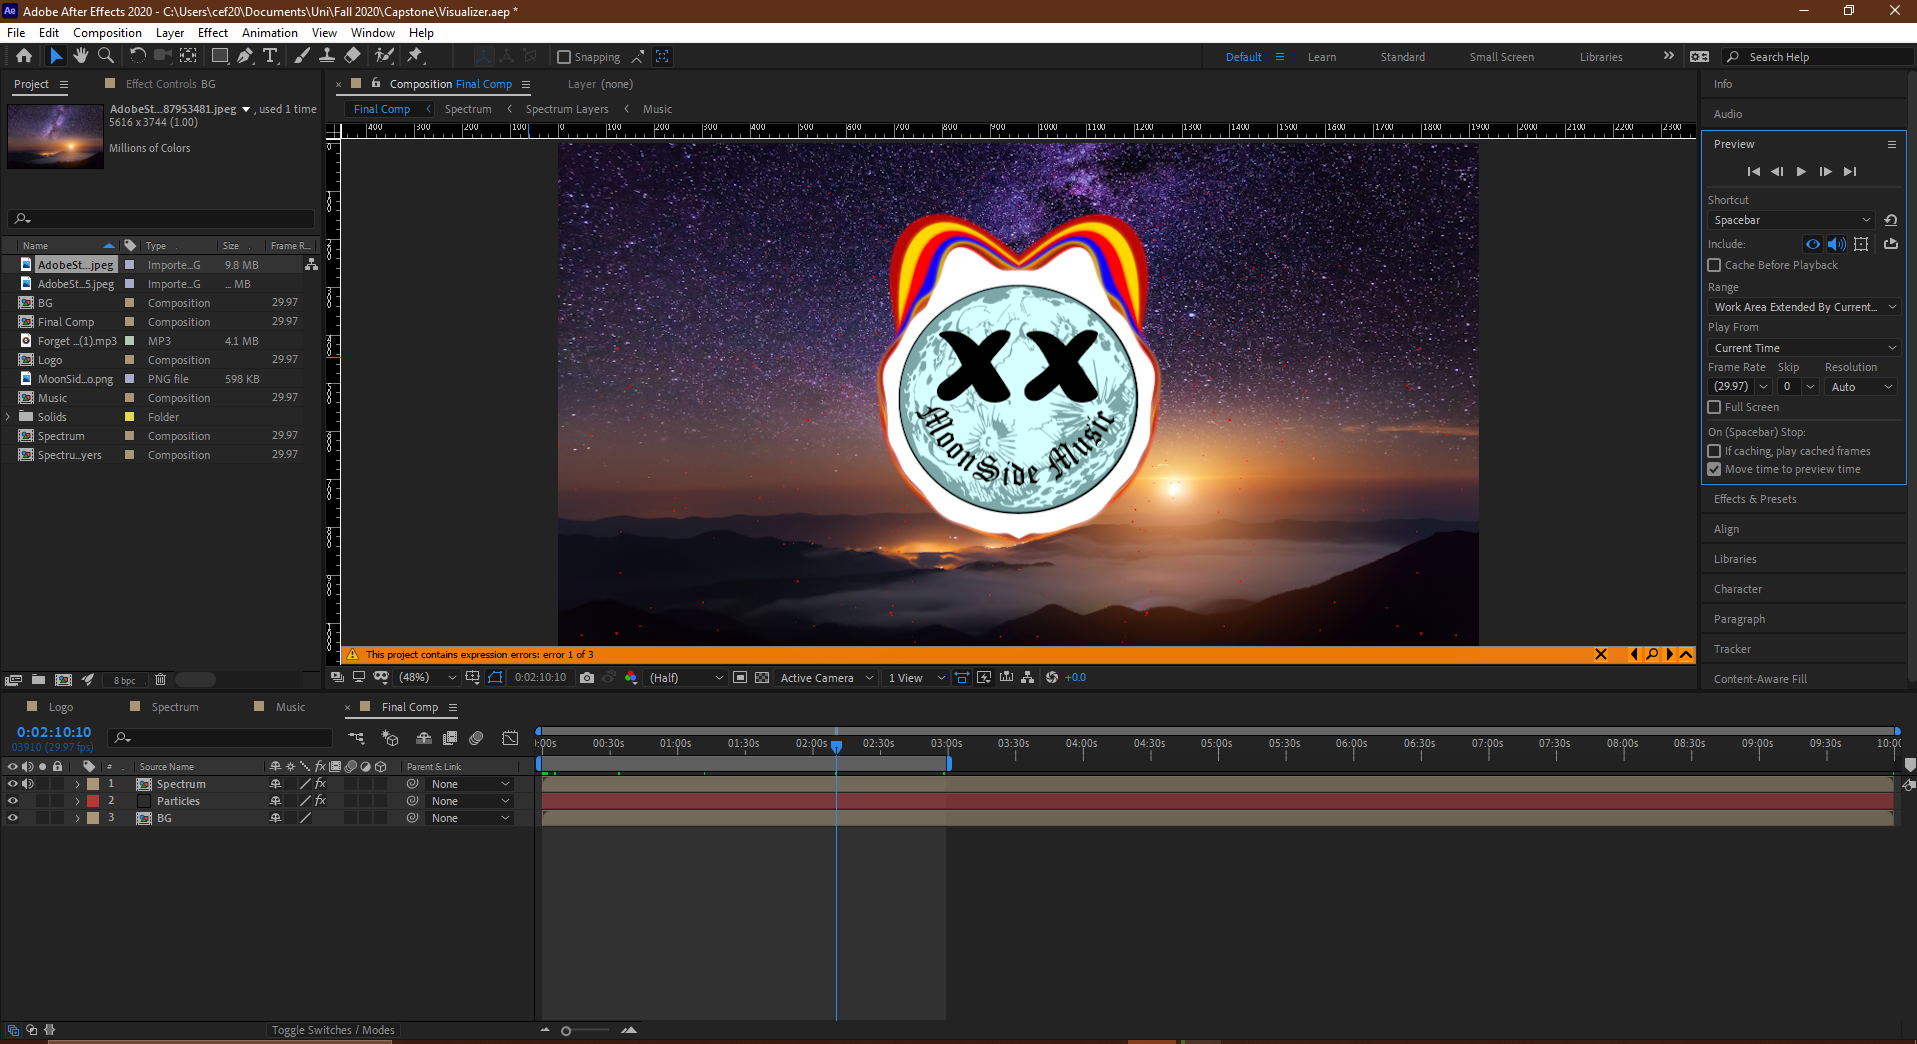
I then proceeded in creating the first visualizer prototype. This prototype helped me to visualize the final product that I was seeking as well as gave me some ideas of extra effects that could be added.
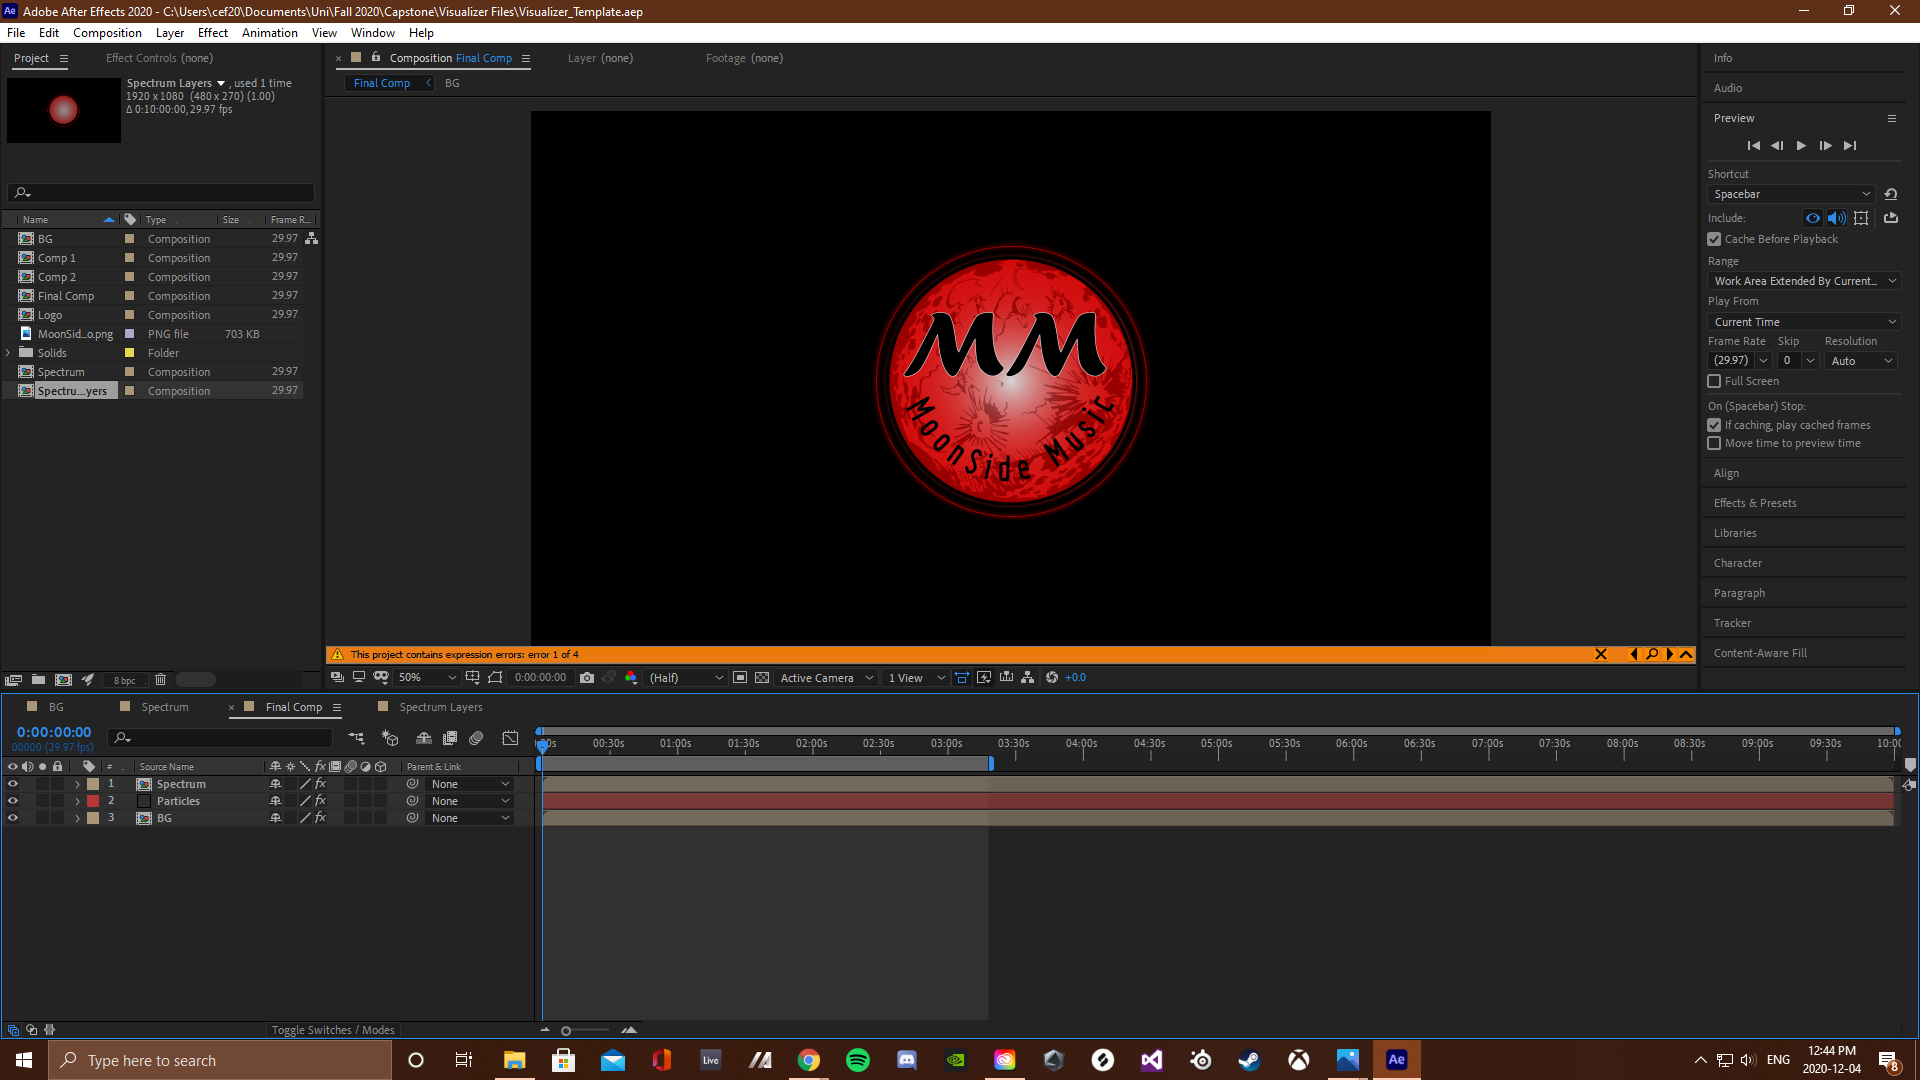
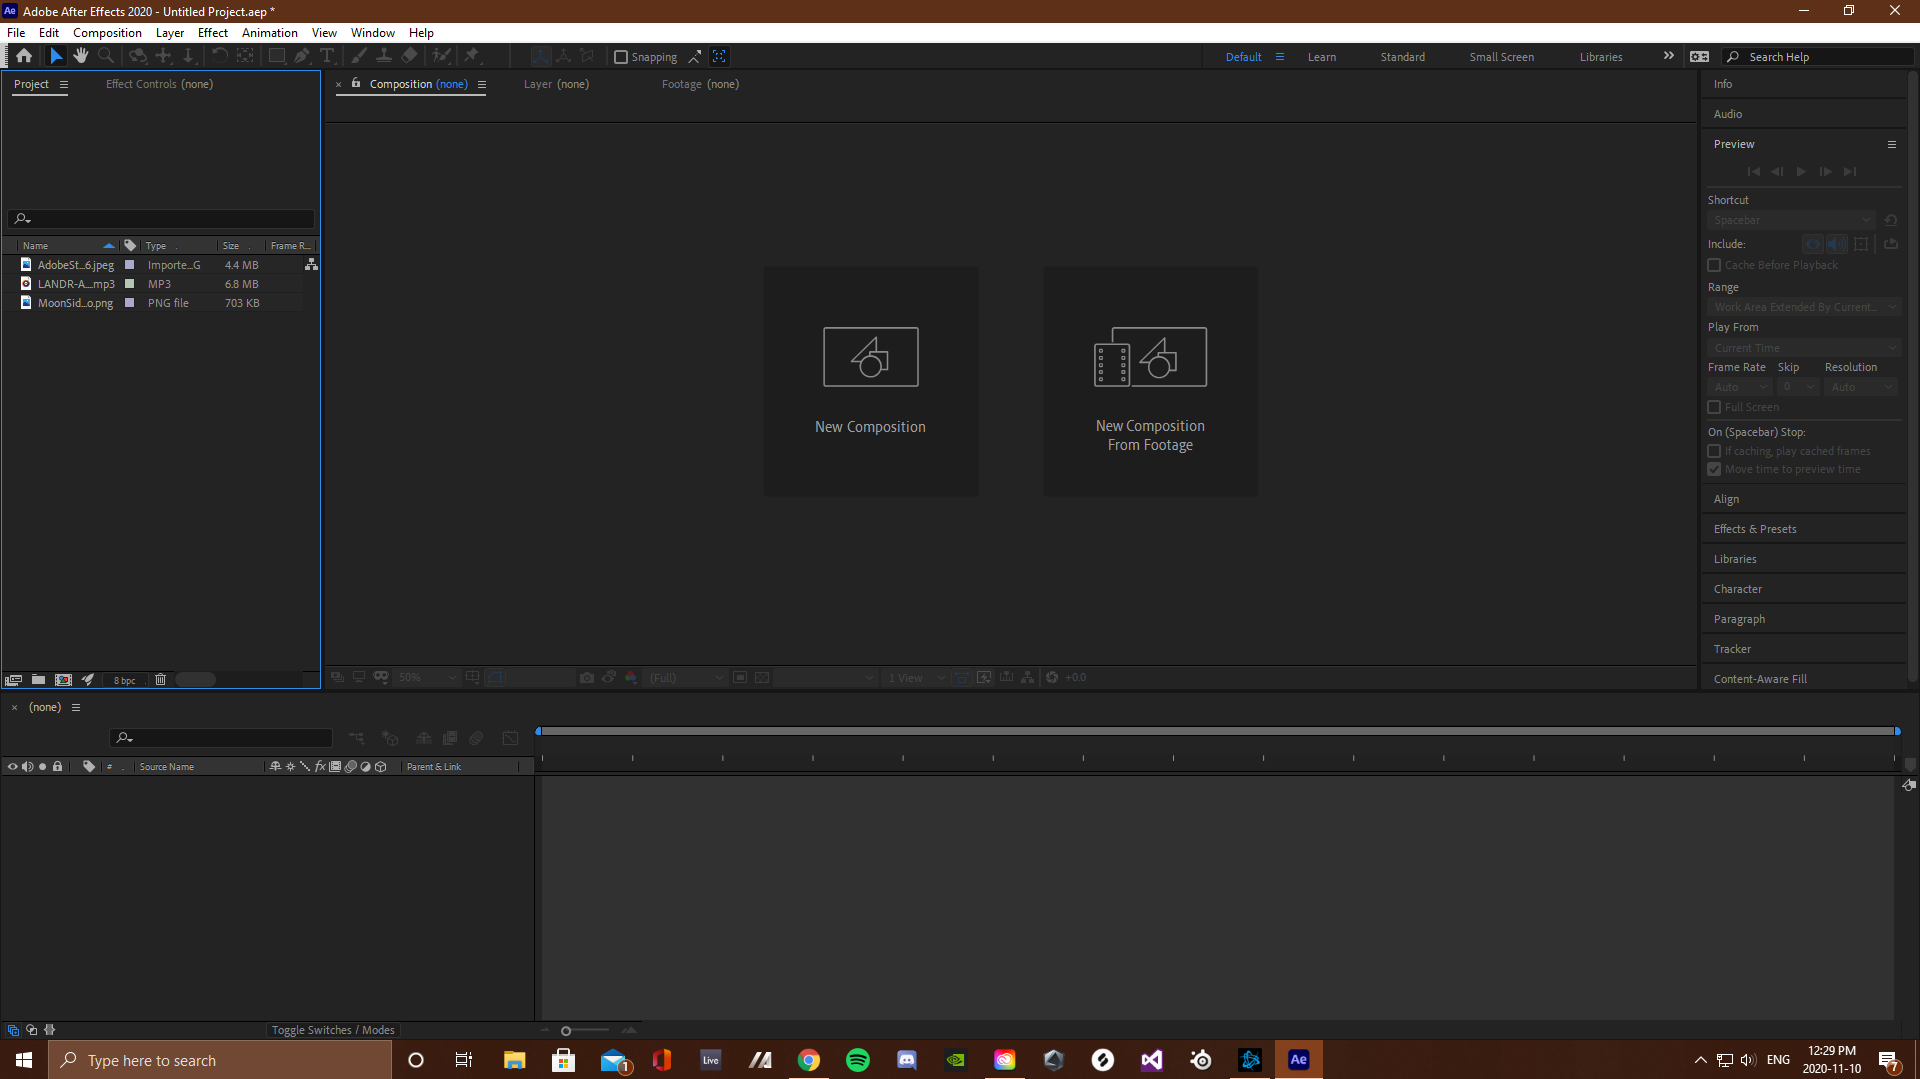
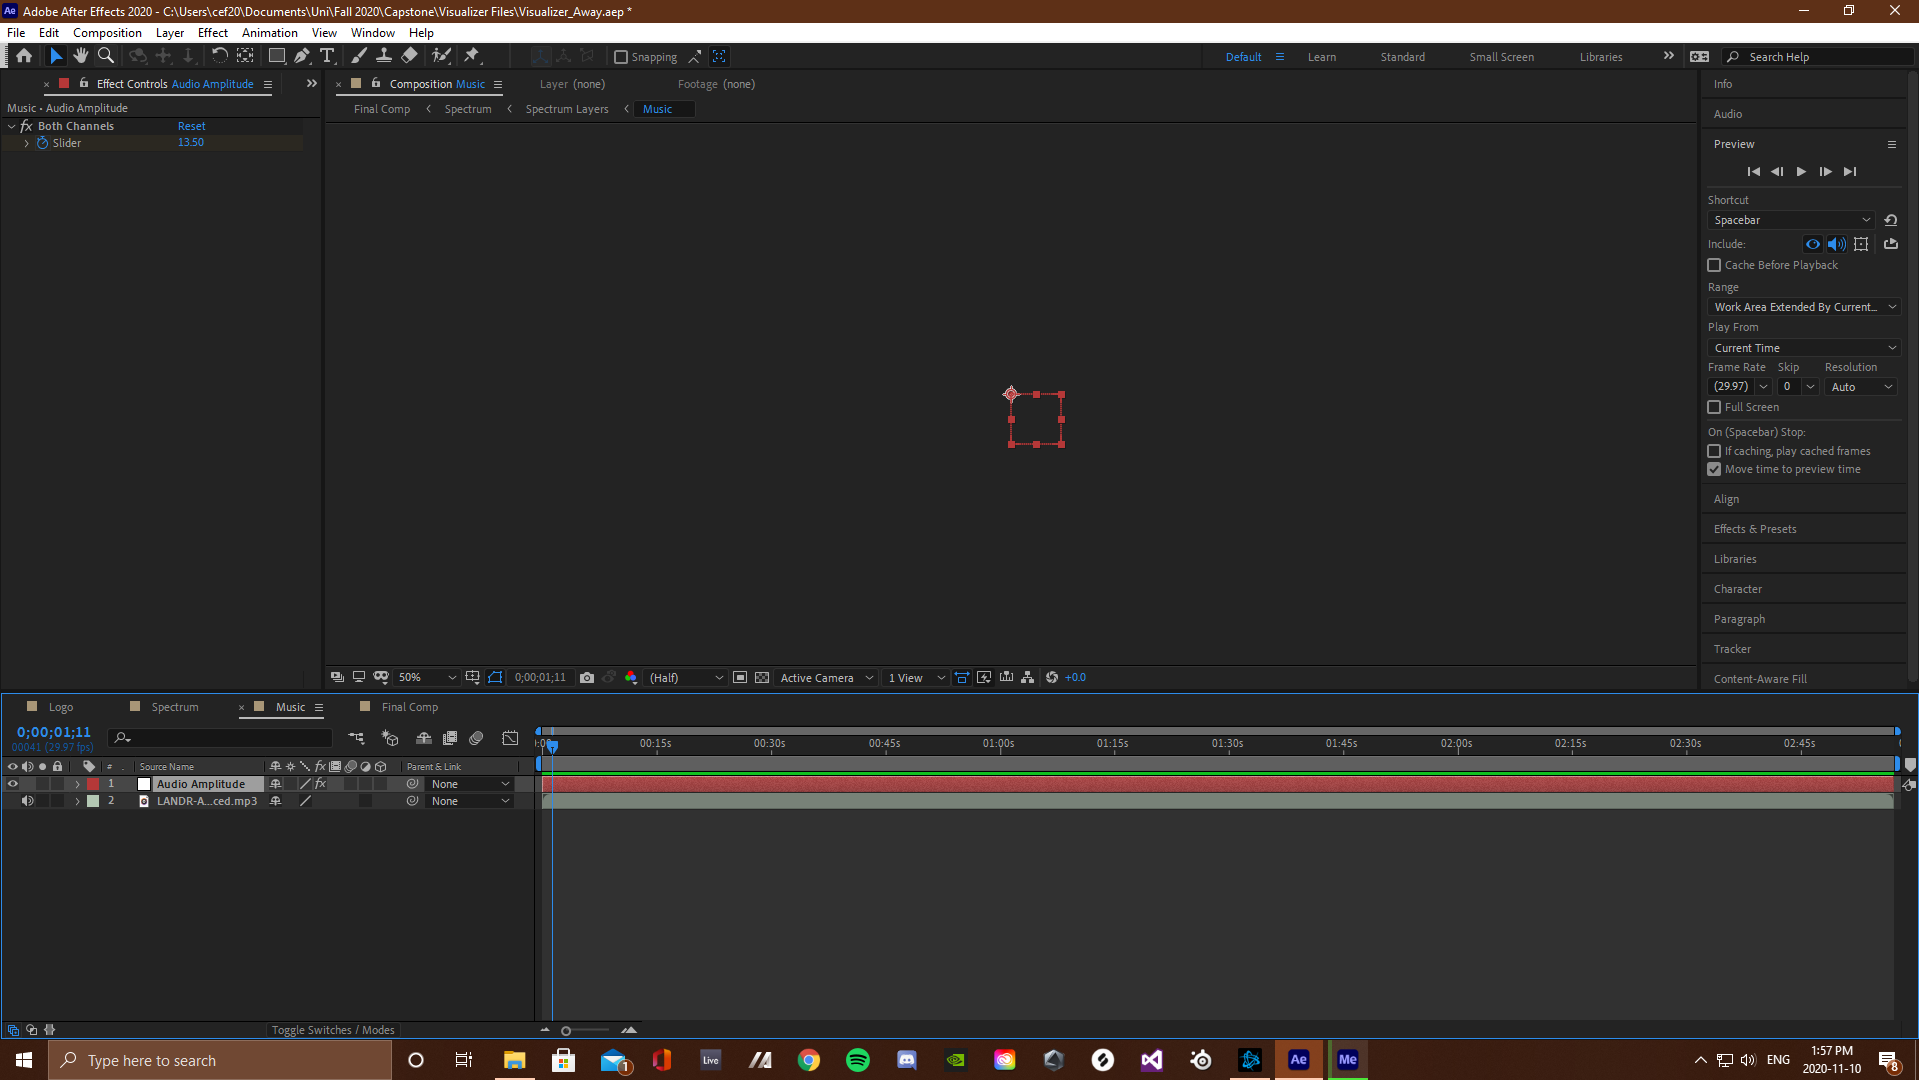
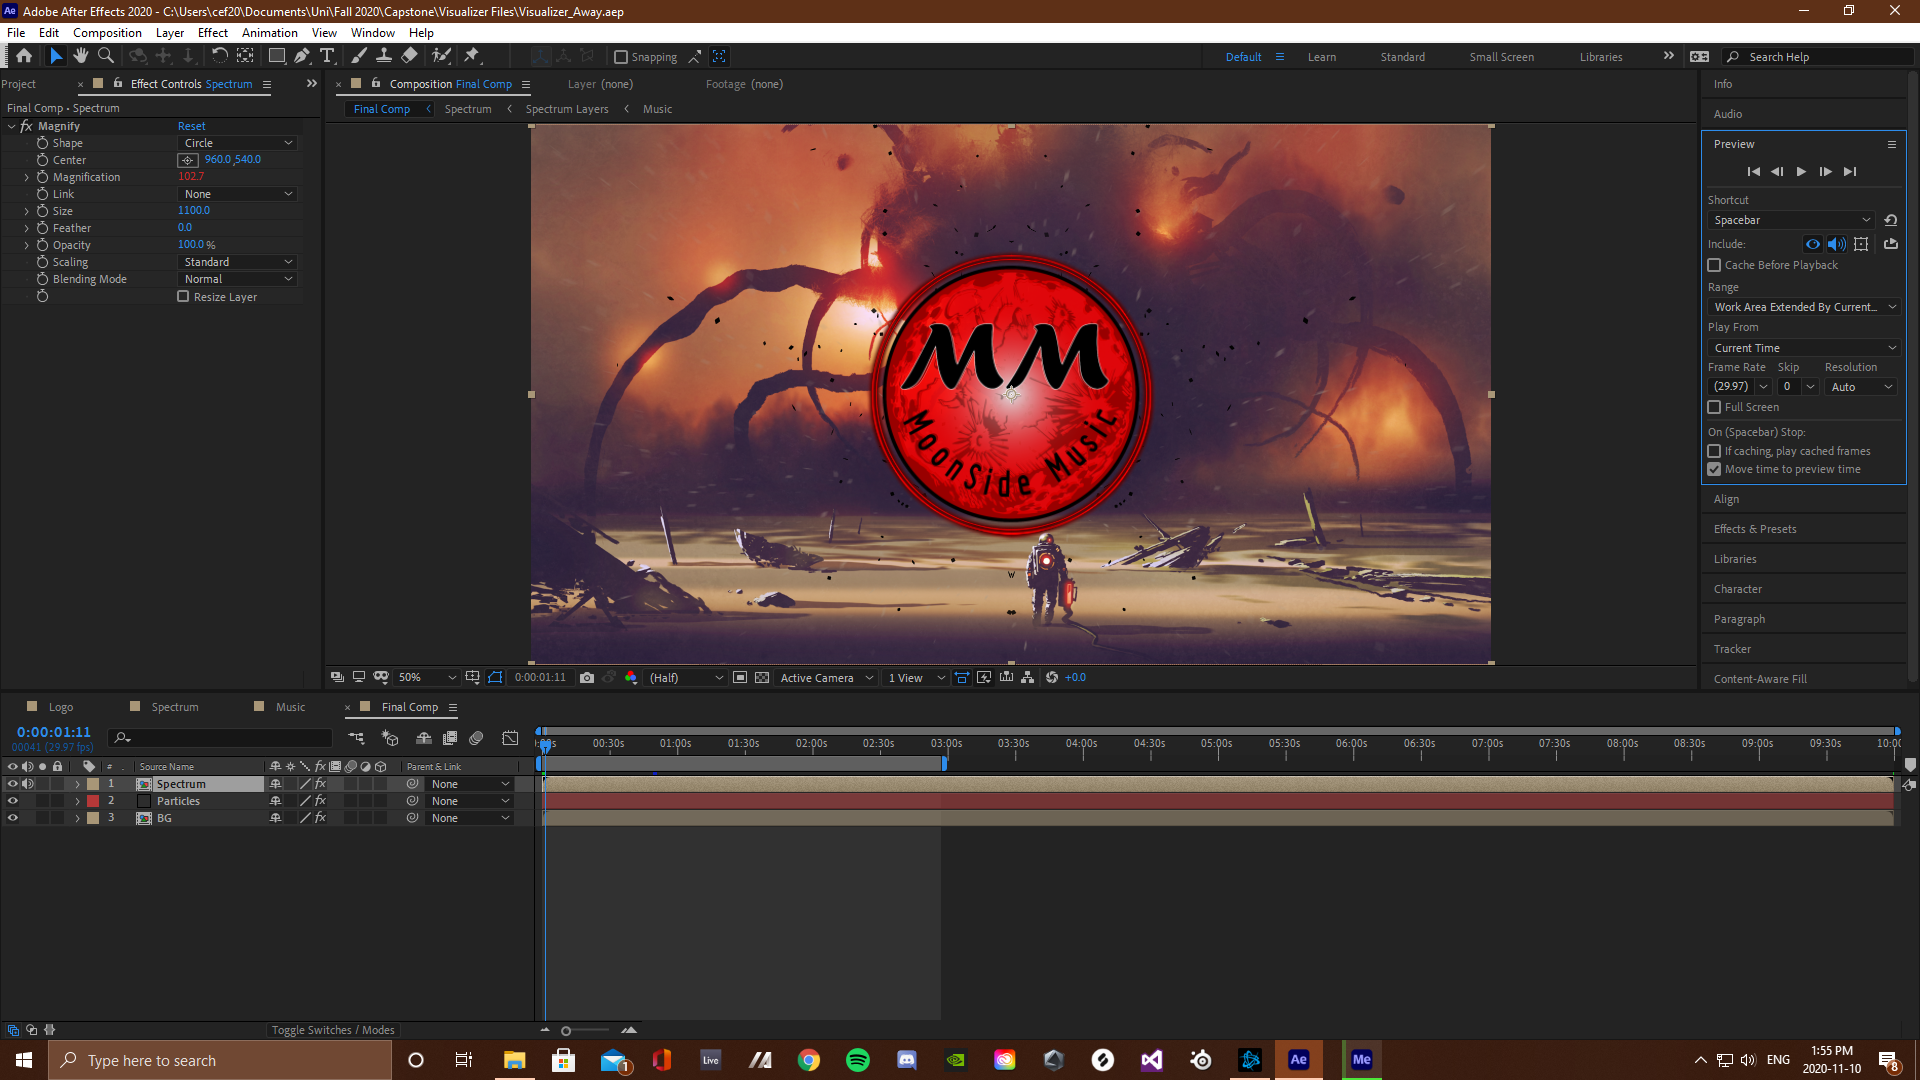
The first step in creating the final visualizer was to import all the nessecary files (background, audio and logo) into after effects. Then create a "Music" composition and convert the audio into keyframes within it. These keyframes are what the visual effects are all mapped too.
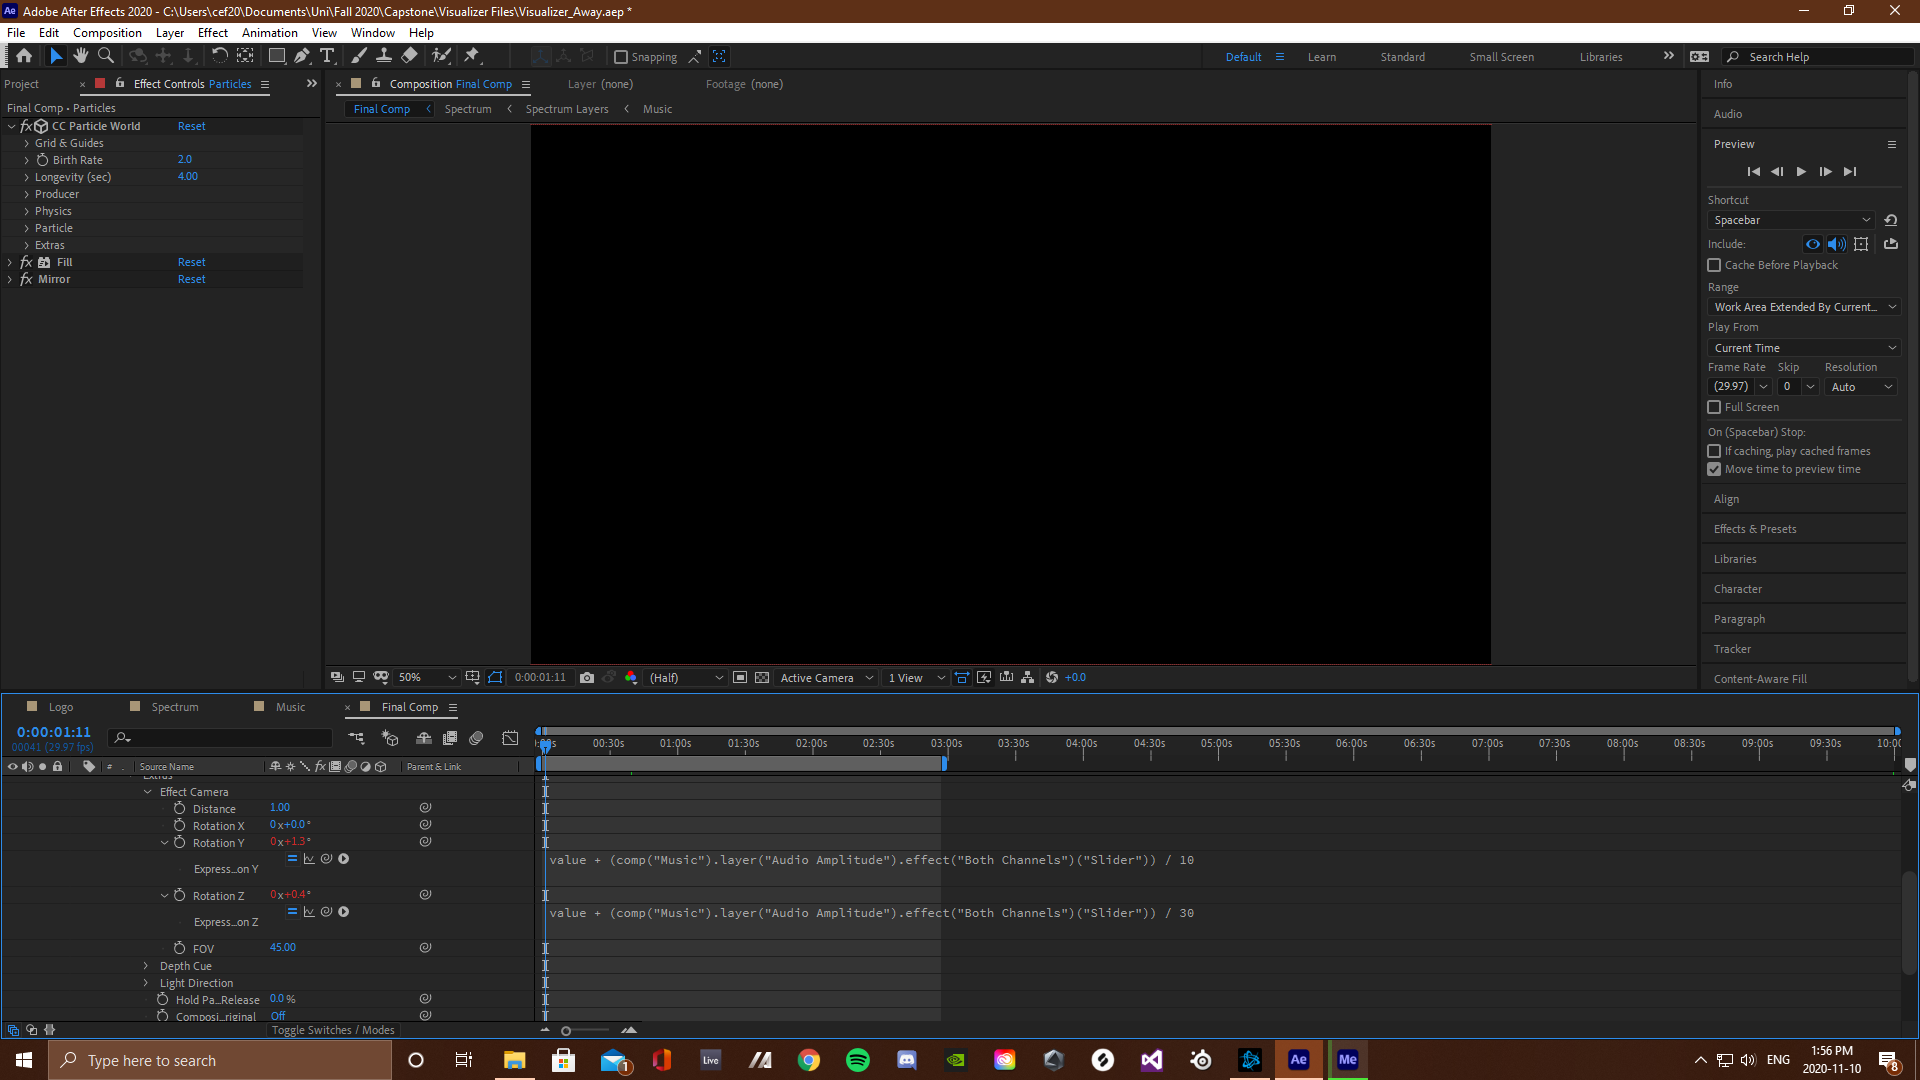
The next step was to change the relationship between specific effect parameters and the keyframes they were being mapped to. This was done by entering functions from the after effects code library into these parameters, changing the value of each one depending on the keyframe mapping. This technique was used to create the magnification of the main visualizer, the magnification of the background and the movement of the particles.
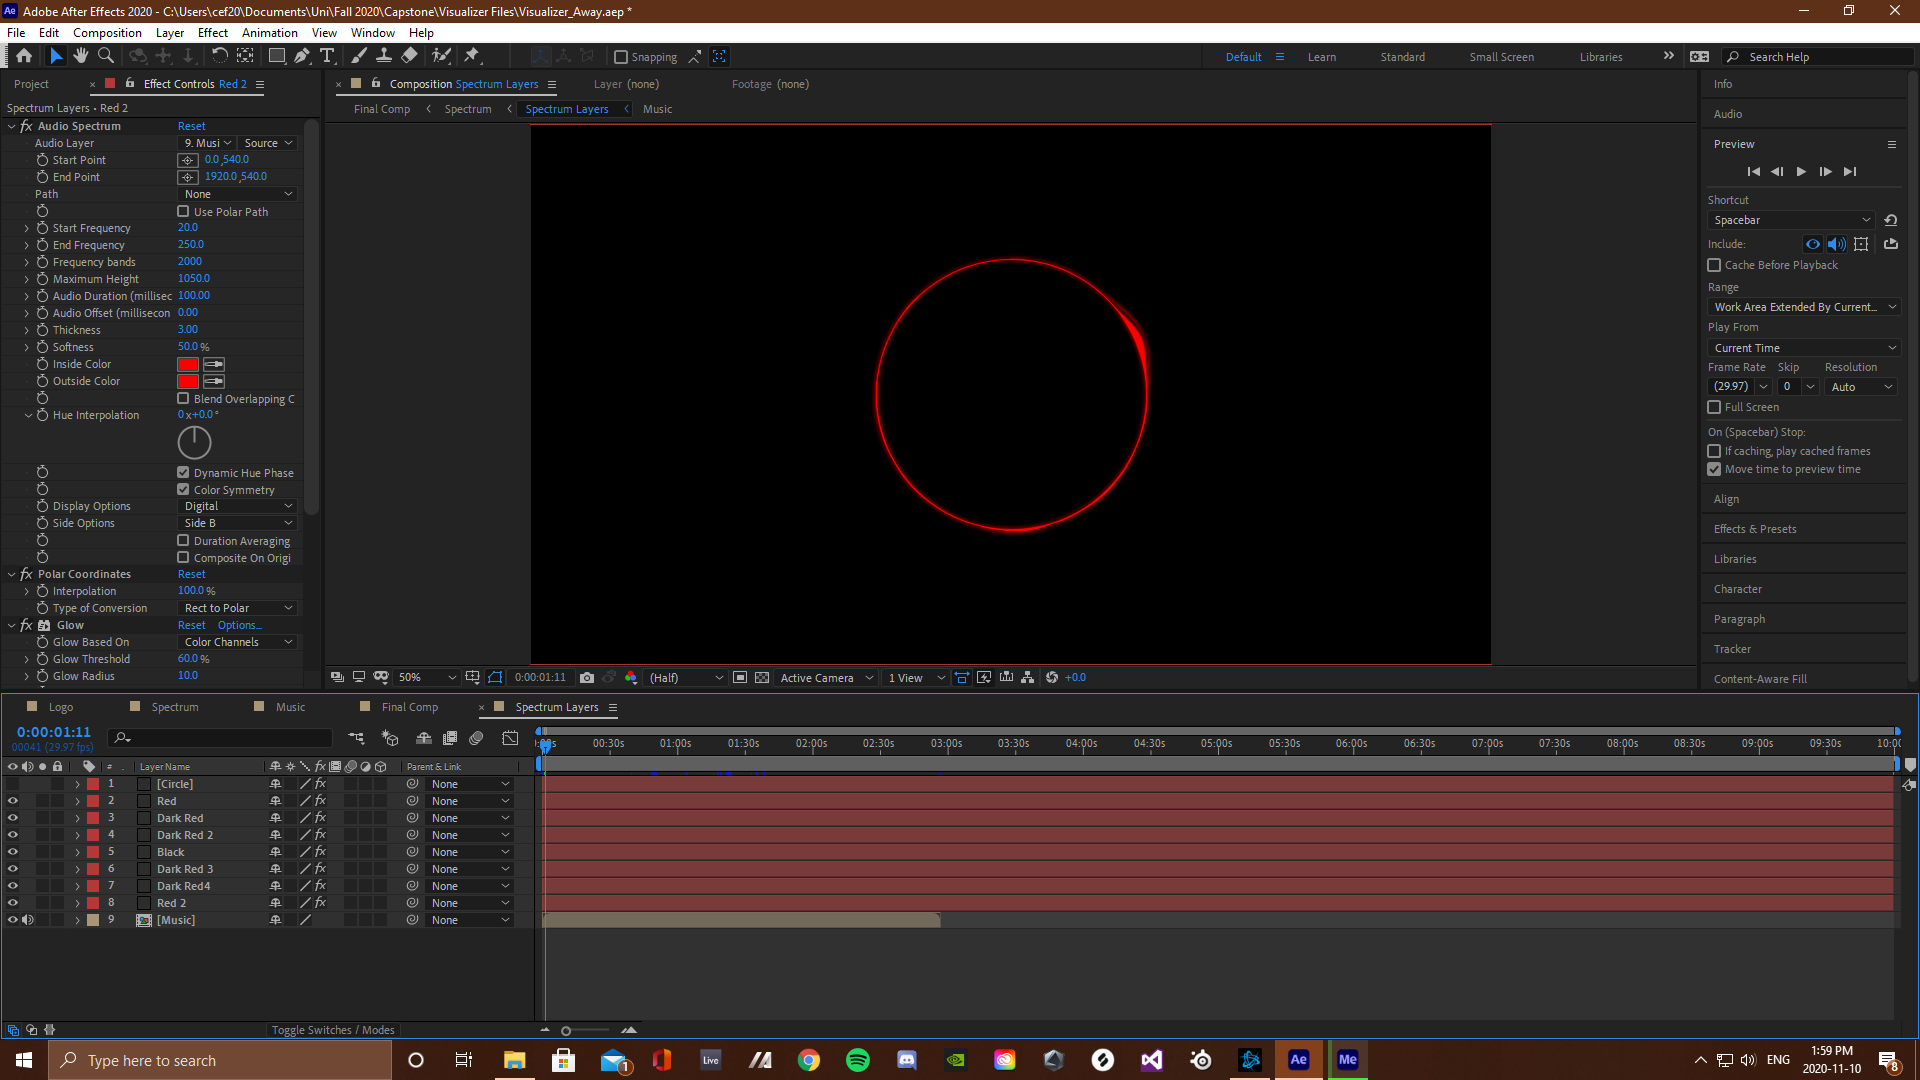
For the main visualization effect surrounding the logo a glowing circle was created and mapped to the keyframes using the audio spectrum effect from the after effects library. These circles where then duplicated, layered on top of each other and had their effect parameters offset in-between each layer, creating the multiple colors you see in the final composition. This is where the main design of the visualizer was achieved.
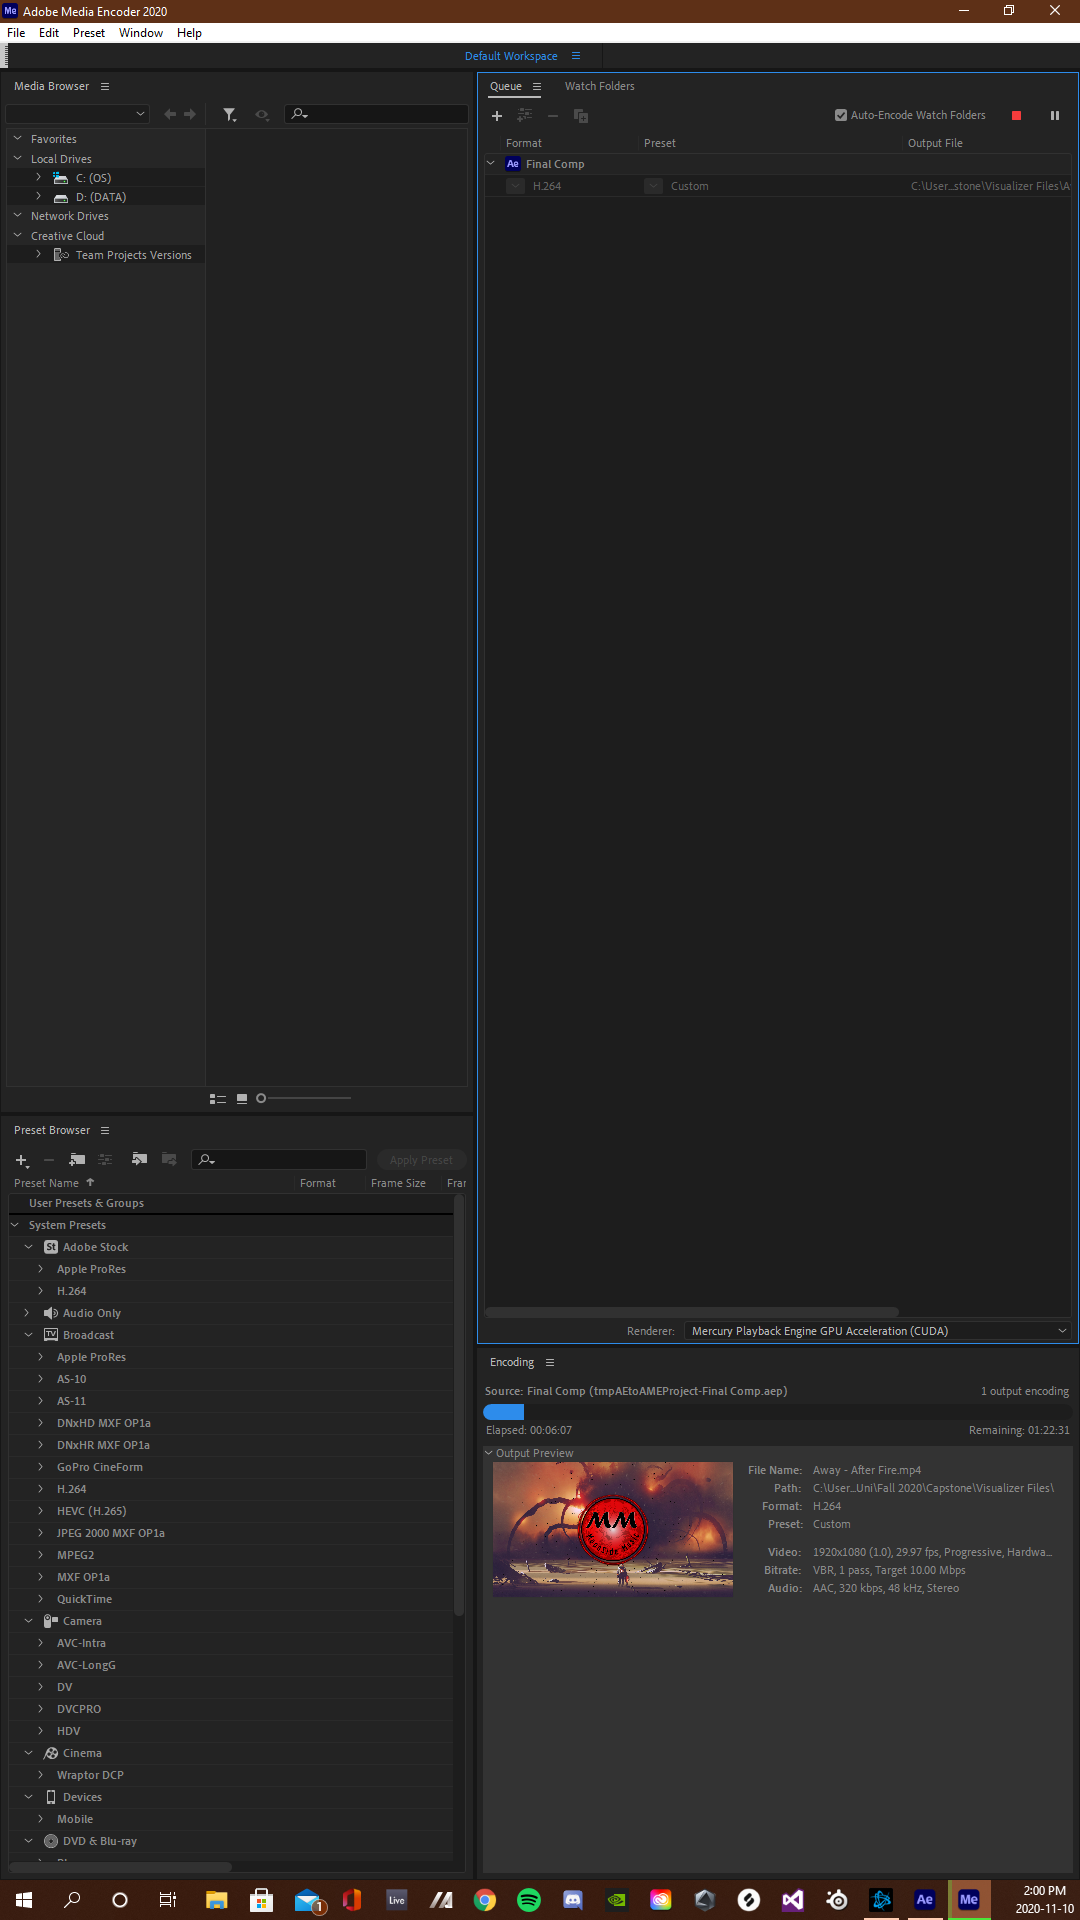
The final step was to layer the logo into the spectrum visualizer and fit the background to the chosen resolution. After which the project was placed into the adobe media encoder queue for exporting.
After the final design and first video was complete, I returned to the project file and made a copy. This copy acted as my template for creating multiple videos using the same exact visualizer, rather than having to re-create it each time. This was done by deleting the "Music" composition (included audio and converted keyframes) as well as the background image. Now in order too create more videos I simply add the audio and a background image, then convert the audio into keyframes and select them as the source for the audio spectrum parameters.